Fixing nix Setup on MacOS Catalina
Bash . CLI . Mac . PersonalWith MacOS Catalina (10.15), Apple decided to decrease the possibilities of system users to install software applications within the system. That means, that it is not possible anymore to install software at specific location in your system, since most system folder ware mounted read-only at boot to improve the overall system security.
That leads to an installation error if you want to install Nix in MacOS Catalina /nix will not be writable on macOS Catalina #2925 .
In another Issue above there are three Options mentioned by user garyverhaegen-da to circumvent this problem, all with some more or less hefty drawbacks.
The good thing is, that with the use of the APFS System, it is very easy possible to setup a specific FS for nix without the use of an DMG Image and mount it under the correct /nix path.
These are the steps you can do to fix the problem:
!! This approach does only work if you have a Disk that is formated with APFS
(that should always be the case, if your OS is running of a SSD).
You can check this with:
% diskutil list | grep APFS
…
0:      APFS Container Scheme -                      +250.8 GB   disk1
…
Of you have an output here, everything is fine. Otherwise you might have a look into How to Convert to APFS .
1 Create another Volume on your Disk for NIX
This can be done via the Disk Utility Program,
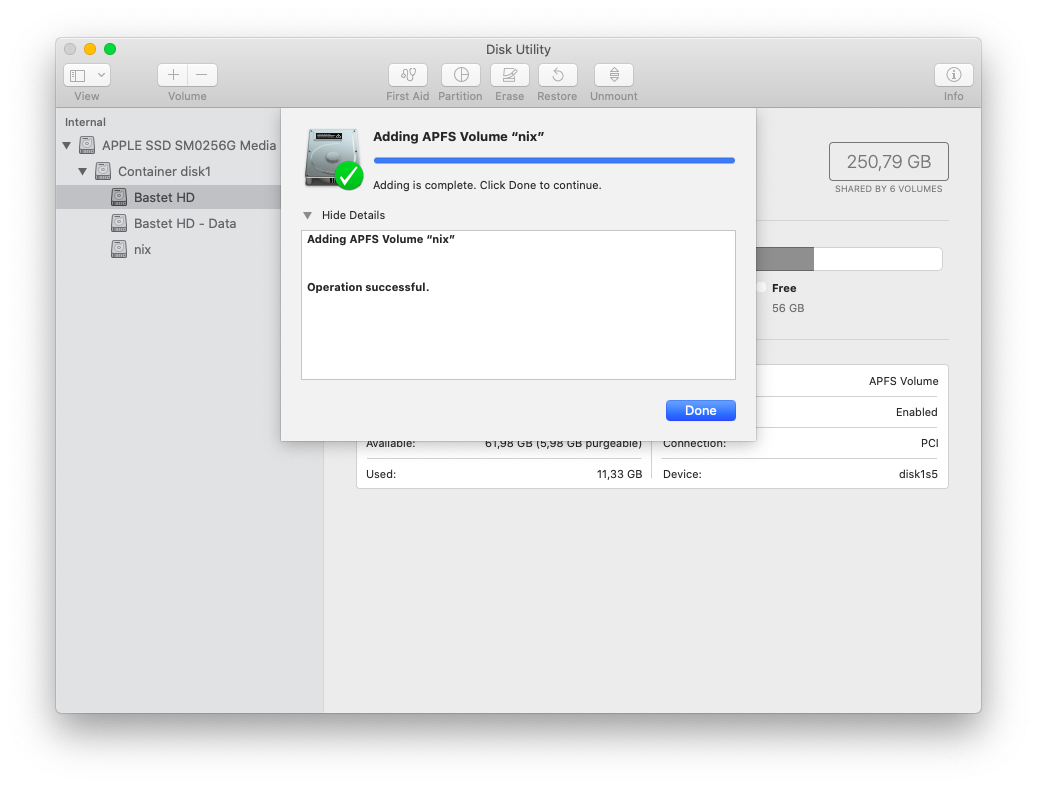
or via the CLI:
% sudo diskutil apfs addVolume disk1 ‘APFS’ nix
Will export new APFS Volume "nix" from APFS Container Reference disk1
Started APFS operation on disk1
Preparing to add APFS Volume to APFS Container disk1
Creating APFS Volume
Created new APFS Volume disk1s6
Mounting APFS Volume
Setting volume permissions
Disk from APFS operation: disk1s6
Finished APFS operation on disk1
After that, you should see a volume nix if you are running diskutil list.
The great thing is, that this volume does not need to have a fixed size. APFS shares the free disk spaces over all configured volumes!
1b (optional) encrypt disk
If you want to, you can also activate Disk Encryption for te new Disk. First you need to find out the name of your new Disk (if you did not note it from the previous command ;-)).
% diskutil list | grep nix
4: APFS Volume nix 7.7 GB disk1s6% sudo diskutil apfs encryptvolume disk1s6 -user disk
You need to enter a passphrase for the encryption. You have to remember that passphrase once – you can add it to your key chain later on.
Passphrase for the new "Disk" user (672C4CFF-34C6-4407-83ED-294C1C42E161):
Repeat passphrase:
After that the disk encryption will start in the background:
Starting background encryption with the new "Disk" crypto user on disk1s6
The new "Disk" user will be the only one who has initial access to disk1s6
The new APFS crypto user UUID will be 672C4CFF-34C6-4407-83ED-294C1C42E161
Background encryption is ongoing; see "diskutil apfs list" to see progress
2 setup Mount Point
MacOS Catalina does not allow to create folders directly under your Root Path /. But we can use another method to have MacOS create that folder for us. To do this, we have to add an entry into the file /etc/synthetic.conf:
% sudo bash -c “echo nix >> /etc/synthetic.conf”
Now, the next time, the system starts, a mount point /nix will be created. The next task is to have our Volume mounted at Boot.
3 setup Mount
For the Mount Configuration, we need to the UUID of the Volume. We can find this via the diskutil tool:
% diskutil info /dev/disk1s6 | grep UUID
Volume UUID:               1D9389C1-5676-4077-88F5-8D5304A0B1A6
Disk / Partition UUID:     1D9389C1-5676-4077-88F5-8D5304A0B1A6
In previoues version, you would just edit /etc/fstab and adding an entry there. But here is a clear info in that file to only edit it via vifs. The Tool vifs works like vi so an edit is quite easy.
% sudo vifs
We have to enter instert mode whith prssing the Key I.
After that, we can just paste this line into the editor window:
UUID=1D9389C1-5676-4077-88F5-8D5304A0B1A6 /nix apfs rw!! This UUID is only valid for my volume – your mileage may vary
We now have to write our changes: press ESC to leave the insert mode, type :w + ENTER to save the changes and :q + ENTER to exit the editor.
4 Reboot
Before we can start our nix Setup, we have to reboot the system.
If you have enabled the disk encryption, you will be asked for the passphrase after the system has restarted. You need to enter it once and mark “add to key chain”. The next time, the disk should be mounted automatically.

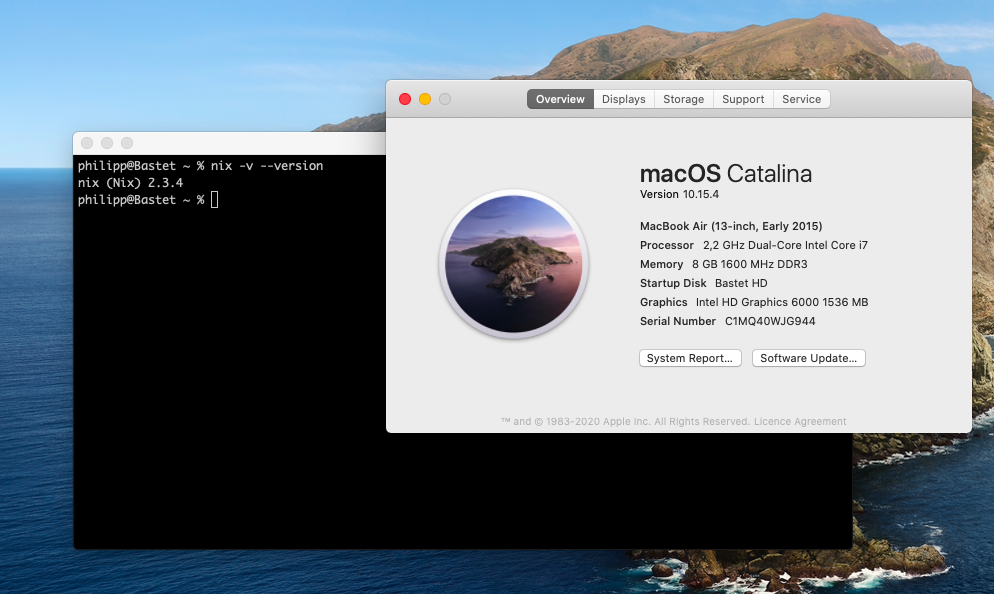
5 Setup Nix
You can now proceed with the installation of Nix. Everything should work as expected. Since it is a realy Mount Point and no Softlink, there should be no errors expected.
% sh <(curl https://nixos.org/nix/install)
  % Total    % Received % Xferd  Average Speed   Time    Time     Time  Current
                                 Dload  Upload   Total   Spent    Left  Speed
100  2399  100  2399    0     0   9913      0 --:--:-- --:--:-- --:--:--  9995
downloading Nix 2.3.4 binary tarball for x86_64-darwin from 'https://nixos.org/releases/nix/nix-2.3.4/nix-2.3.4-x86_64-darwin.tar.xz' to '/var/folders/y3/29k7dx8s50l4y_l2tr78b_vh0000gn/T/nix-binary-tarball-unpack.XXXXXXXXXX.Fe7OlFzr'...
  % Total    % Received % Xferd  Average Speed   Time    Time     Time  Current
                                 Dload  Upload   Total   Spent    Left  Speed
100    87  100    87    0     0    878      0 --:--:-- --:--:-- --:--:--   878
100 26.6M  100 26.6M    0     0  11.3M      0  0:00:02  0:00:02 --:--:-- 12.0M
Note: a multi-user installation is possible. See https://nixos.org/nix/manual/#sect-multi-user-installation
performing a single-user installation of Nix...
copying Nix to /nix/store.............................................
installing 'nix-2.3.4'
building '/nix/store/96xp8q08cm412ibj8bhrgivx3hgc2gfx-user-environment.drv'...
created 7 symlinks in user environment
installing 'nss-cacert-3.49.2'
building '/nix/store/qjabndqd4kdjwlpiphwxrk84acy7x60k-user-environment.drv'...
created 9 symlinks in user environment
unpacking channels...
created 1 symlinks in user environment
modifying /Users/philipp/.bash_profile...

Installation finished!  To ensure that the necessary environment
variables are set, either log in again, or type

  . $HOME/.nix-profile/etc/profile.d/nix.sh

in your shell.
5b Hint
To have the nix commands in your path, you have to add the following to your .zshrc file, since Catalina uses ZSH as the default shell:
. $HOME/.nix-profile/etc/profile.d/nix.sh
Leave a Reply